By Susam Pal on 15 Jun 2019
IBM/LCSI Logo in DOSBox
Once in a while, I fire up one of the vintage DOS games or language
interpreters in DOSBox for nostalgia’s sake. I have archived these
vintage programs at https://github.com/susam/dosage.
Last night, I picked up IBM Personal Computer Logo developed by Logo
Computer Systems Inc. (LCSI) in 1983.

Logo was the first programming language I learnt in my life. I came
across it at the age of 8 when I was in Class 4 and our school had a
5¼-inch floppy disk with IBM PC Logo on it. About 20 years later,
I would realize that the first programming language I learnt is a
dialect of Lisp. How wonderful!
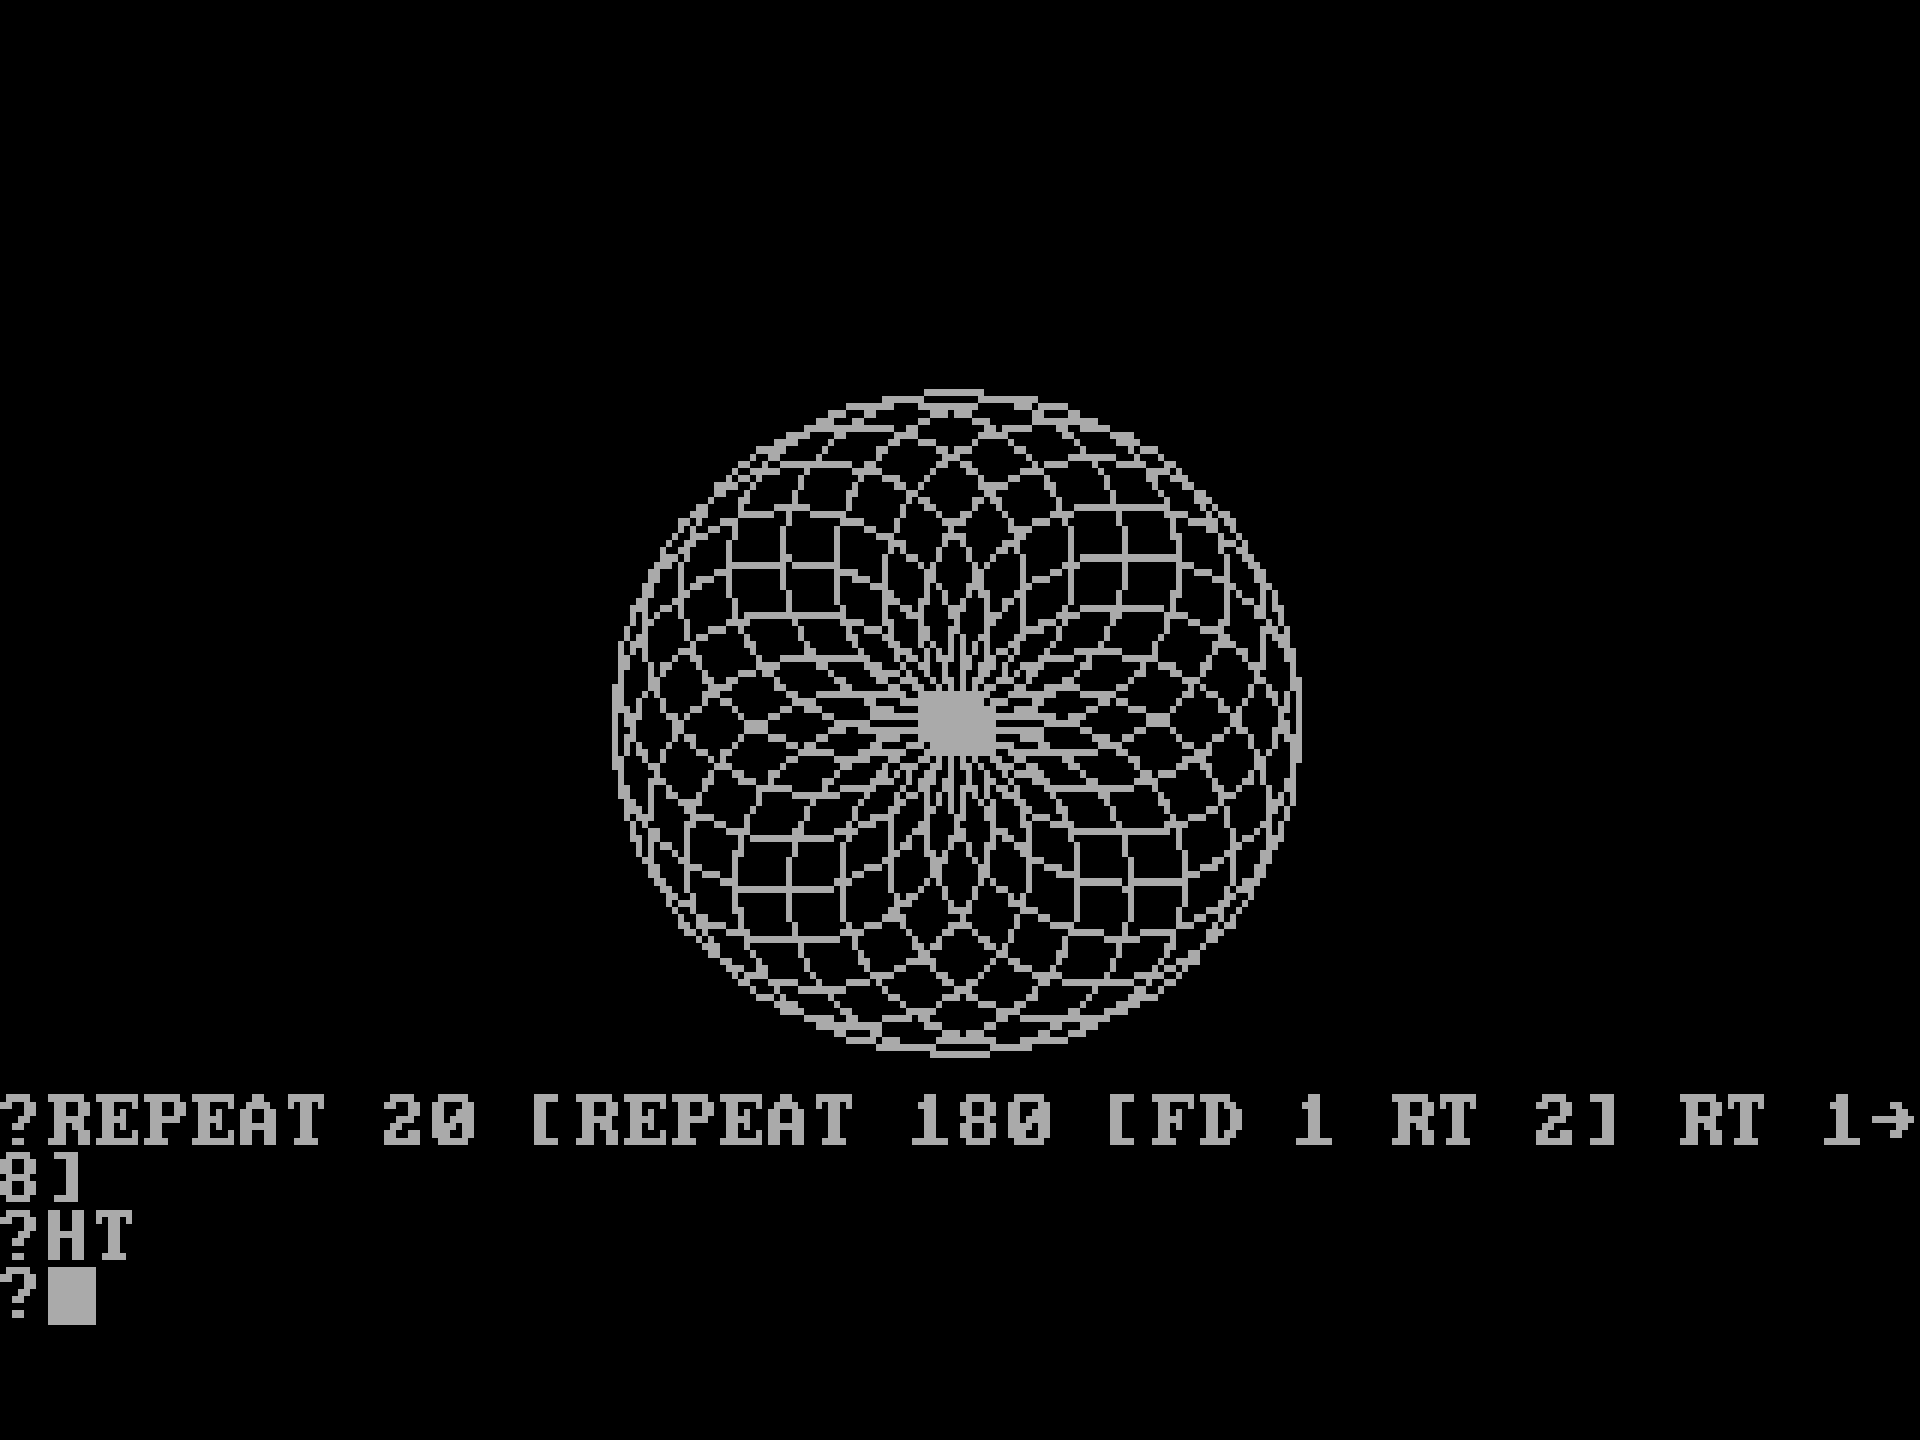
One of the things I enjoyed drawing with Logo was a grid of overlapping
circles like this:

Here is the Logo source code for the above output:
REPEAT 20 [REPEAT 180 [FD 1 RT 2] RT 18]
DOSBox Screenshot Capture
The screenshots above were obtained by running IBM Personal Computer
Logo Version 1.00 in DOSBox v0.74-2 in macOS High Sierra version
10.13.6.
To obtain such screenshots, we press Ctrl + F5
while DOSBox is running. The screenshot path appears in the console
output at the terminal where DOSBox was launched. For example:
Capturing Screenshot to /Users/susam/Library/Preferences/capture/logo_000.png
By the way, I have donated both images above to Wikimedia Commons under
the Creative Commons Attribution 4.0 International (CC BY 4.0) license:
- https://commons.wikimedia.org/wiki/File:IBM_LCSI_Logo_Welcome_Screen.png
- https://commons.wikimedia.org/wiki/File:IBM_LCSI_Logo_Circles.png
Having the images on Wikimedia Commons helps to include these
screenshots in the Wikipedia
article on Logo.
DOSBox Video Capture
To start capturing video of DOSBox, we press Ctrl +
Alt + F5. The same key combination stops capturing
video. The following output appears in the console output to show where
the video file is saved:
Capturing Video to /Users/susam/Library/Preferences/capture/logo_000.avi
Stopped capturing video.
Now I wanted to share this video with my contacts who might be on
devices that do not support playing AVI files, so I decided to convert
this to MP4 format with the following FFmpeg command:
ffmpeg -i logo_000.avi -an -c:v libx264 -crf 17 -preset veryslow
       -pix_fmt yuv420p logo-circles.mp4
Here is what the output looks like:
[MP4]
FFmpeg Options
Let us briefly discuss the various FFmpeg options we used in the
previous section:
-
-i logo_000.aviThis, of course, specifies the input file.
-
-anWe do not have any audio in this video, so we reduce the file size
a little by disabling the audio stream with this option. For
example, without this option the output file size was 243 KB but
with this option it turned out to be 203 KB.This option should not be specified if the audio stream needs to
preserved, for example, with DOS games that have audio. -
-crf 17This option provides visually lossless output, i.e., high quality
output without any loss in quality that can be perceived by human
eyes. For completely lossless output, we need to use the
-crf 0option. The-crf 51option
produces the most lossy (worst quality) output. -
-preset veryslowThis option provides better compression at the cost of encoding
speed. For example, without this option it produces an output of
size 221 KB in about 1.2 second but with this option it produces
an output of size 203 KB in about 1.8 seconds. -
-pix_fmt yuv420pThis option ensures that the output video file can be run in
a wide range of devices and players.For example, without this option, we get the output in the YUV444p
format. I found that QuickTime Player version 10.4 on macOS High
Sierra as well as Android 9.0.0 was unable to play this format.$ ffmpeg -v quiet -i logo_000.avi -an -c:v libx264 -crf 17 -preset veryslow logo-circles.mp4 $ ffprobe -v error -show_entries stream=codec_name,profile,pix_fmt logo-circles.mp4 [STREAM] codec_name=h264 profile=High 4:4:4 Predictive pix_fmt=yuv444p [/STREAM]
With this option, we get the output in the YUV240p format. Now
both QuickTime Player version 10.4 as well as Android 9.0.0 was
able to play this format.$ ffmpeg -v quiet -i logo_000.avi -an -c:v libx264 -crf 17 -preset veryslow -pix_fmt yuv420p logo-circles.mp4 $ ffprobe -v error -show_entries stream=codec_name,profile,pix_fmt logo-circles.mp4 [STREAM] codec_name=h264 profile=High pix_fmt=yuv420p [/STREAM]
For maximum compatibility with old devices, we should add the
-profile:v baseline -level 3.0options too.$ ffmpeg -v quiet -i logo_000.avi -an -c:v libx264 -crf 17 -preset veryslow -pix_fmt yuv420p -profile:v baseline -level 3.0 logo-circles.mp4 $ ffprobe -v error -show_entries stream=codec_name,profile,pix_fmt logo-circles.mp4 [STREAM] codec_name=h264 profile=Constrained Baseline pix_fmt=yuv420p [/STREAM]
For maximum compatibility with old devices, we should add the
-profile:v baseline -level 3.0options too. However,
we need to keep in mind that this baseline profile does not
support lossless encoding with the-crf 0option.
The least lossy encoding option we can specify with this profile
is-crf 1which while not technically lossless is
much better than visually lossless.